Drilling and bending PLEXIGLAS®: how to do it at home
Most of the time, a piece of PLEXIGLAS® just needs a hole for a screw or a hanger. Or it needs a bend, for example for a stand or a cover. This is exactly where things go wrong most often. A standard metal drill bit quickly catches and tears the hole. And when you bend it with a hairdryer, either nothing happens or the sheet forms bubbles.
Here you'll learn how to drill PLEXIGLAS® cleanly, how to bend it at home and whether a hairdryer is enough. You'll also find the key points on cutting and polishing. The basics come from the manufacturer's processing guidelines. We've added practical experience on top.
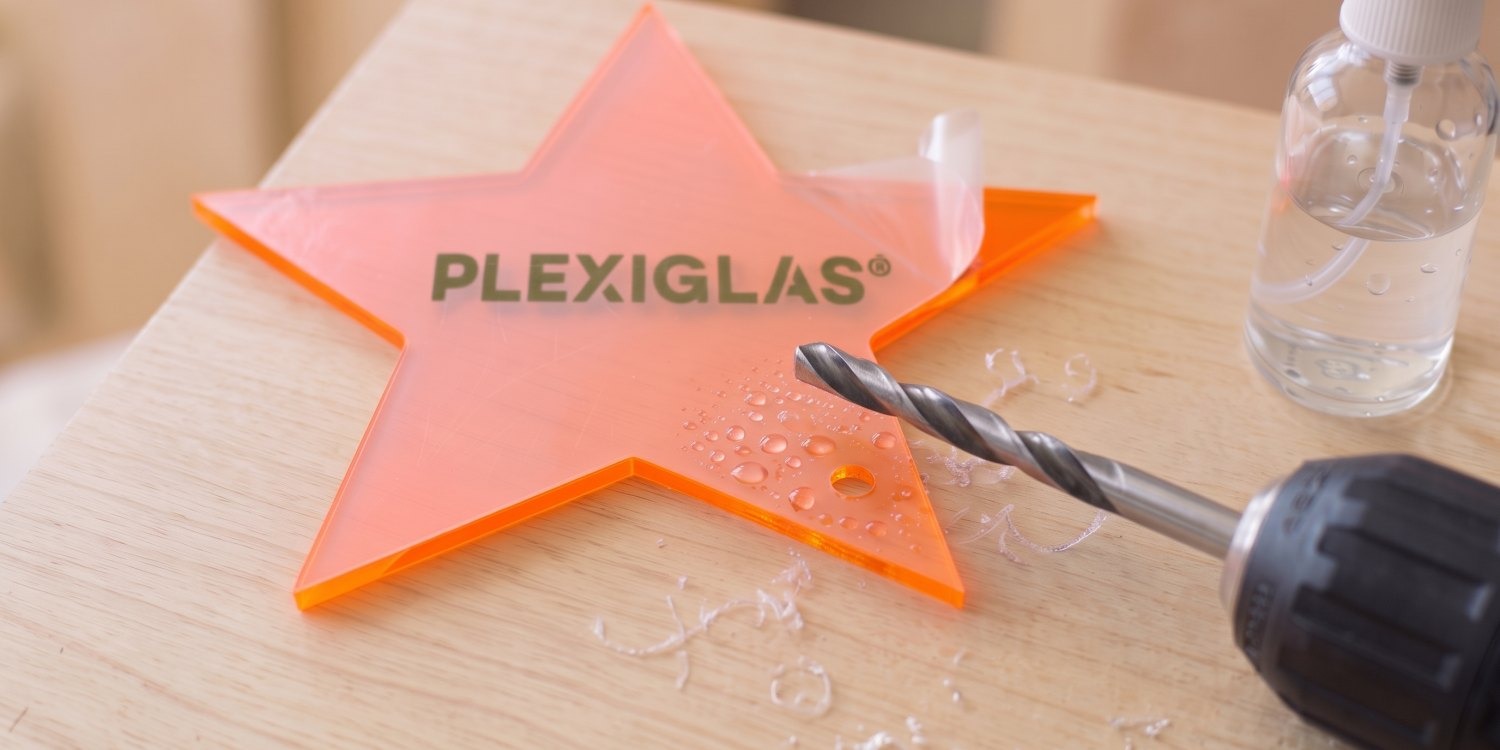 Edited with AI
: The starting point was a real photo of our product. An AI then created the scene around it, such as the table, light and setting. Shape and colour match the product; small differences are possible.
Generated with AI: An AI created this image without a product photo as a template, for example as a mood or in-use image. Shape and colours may differ from the real product.
Before you start: leave the protective film on
PLEXIGLAS® comes with a protective film on both sides. The manufacturer clearly advises against removing it when sawing, drilling or milling. Only take it off once the part is finished. For bending and at areas you want to glue, peel it off beforehand.
- Film already off: Then cover the area where you saw or drill with parcel tape.
- Marking on the film: Draw drill holes, cutting lines and outlines directly on the film with a waterproof pen.
- No scriber, no centre punch: The small notches can later turn into cracks.
- Film outdoors: If a sheet is kept outside, the film must come off after four weeks at the latest. After that it becomes brittle or sticks so firmly that it no longer comes off cleanly.
Drilling PLEXIGLAS® without cracks
A standard metal drill bit cuts too aggressively. It easily catches in the acrylic glass, and a piece breaks out on the underside. With the right drill bit and a little patience, you'll get clean holes. This even works with a cordless drill, as long as you can control the speed:
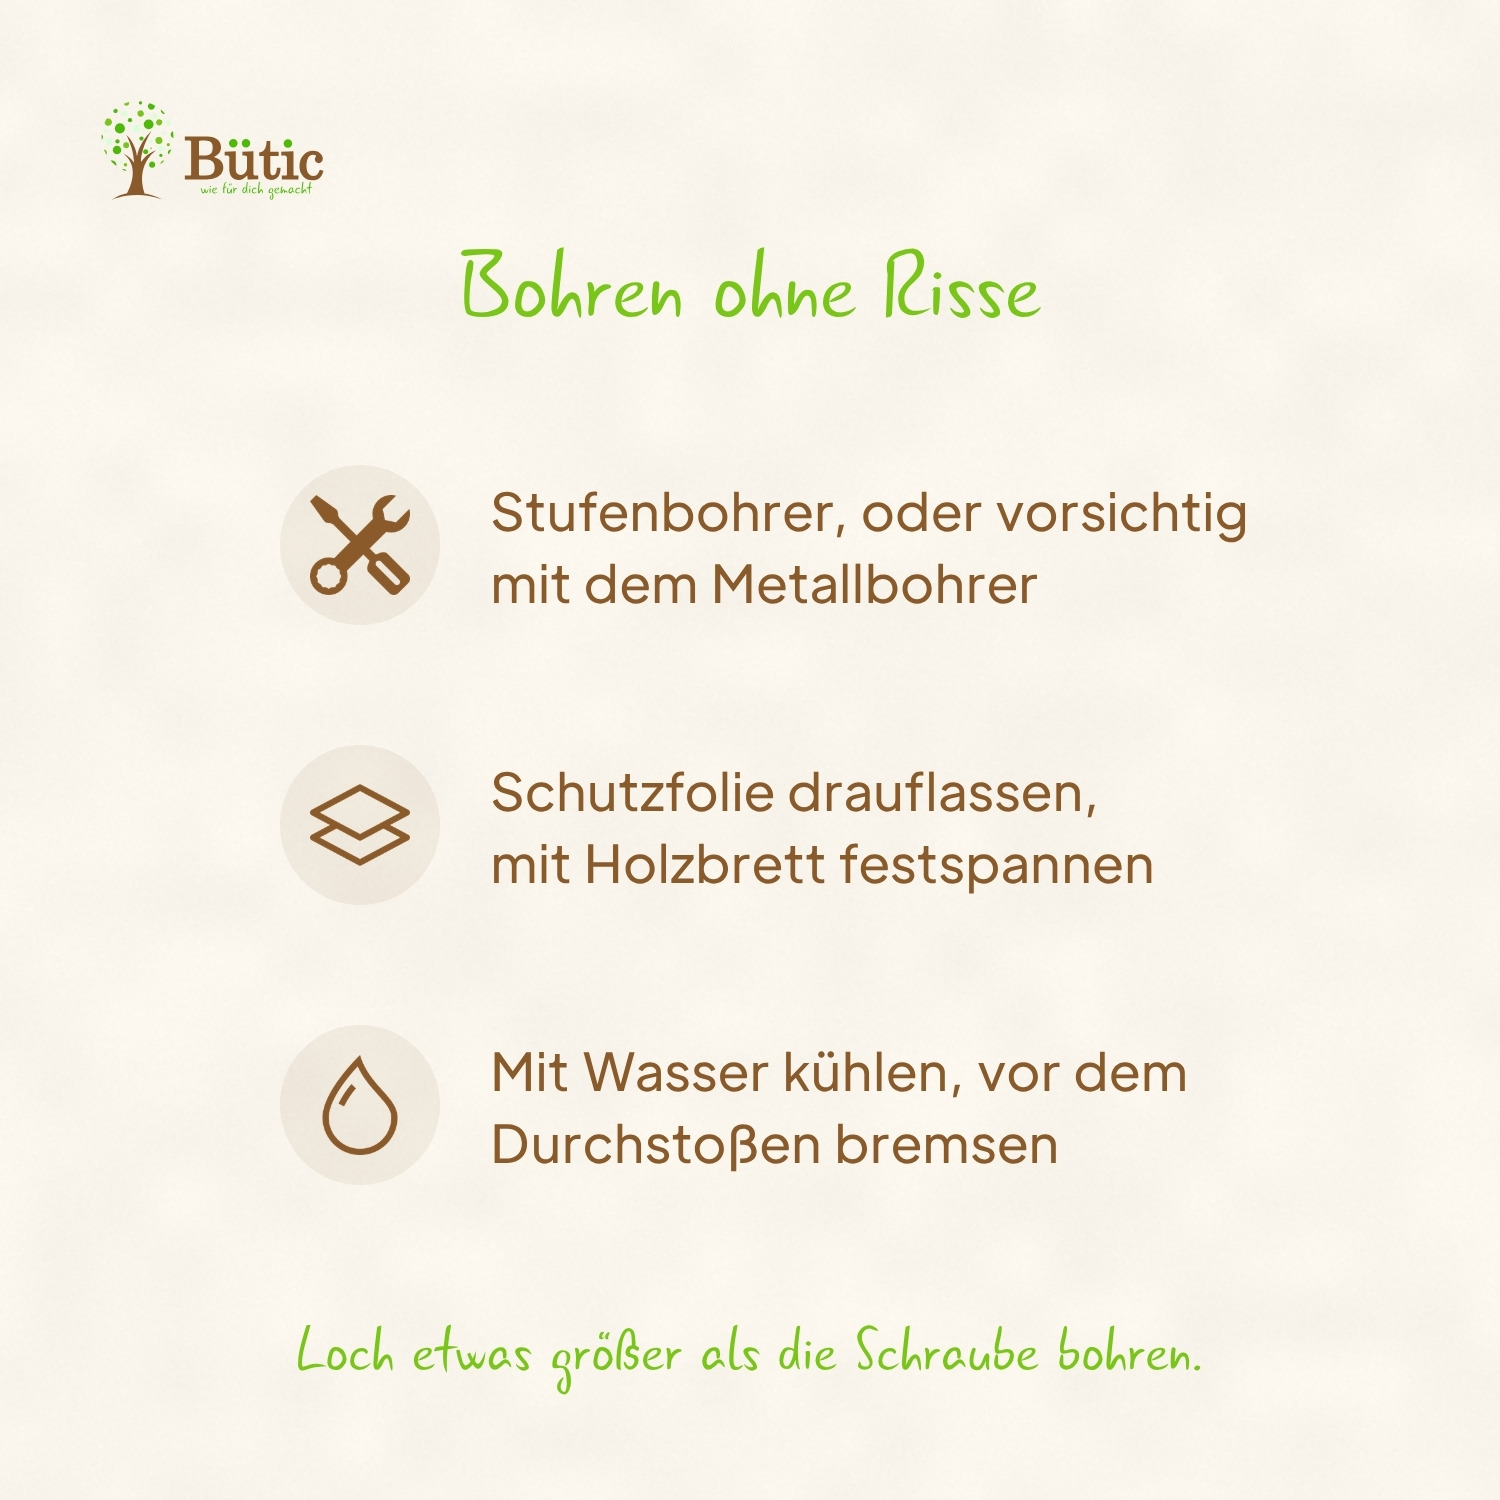
- Step drill or cone drill: With a hand drill, these two have proven the most reliable. A step drill makes smooth, round holes, and the next step deburrs the edge at the same time. You can also use it to enlarge an existing hole. Clamp the sheet down again for this. A cone drill stops the hole from breaking out on the exit side. A three-flute version works best.
- Metal drill bit, ideally reground: A twist drill for acrylic glass needs a sharper point of 60 to 90 degrees instead of 120 degrees. Its cutting edges should scrape rather than cut. The easiest option is to buy one ready ground. How to manage with a standard metal drill bit is explained further down.
- Clamping: Place a wooden board under the sheet and clamp both down. Never hold small parts by hand only. Wear safety glasses, because chips will fly. Switch off the hammer function. Don't wear gloves while drilling, and keep hair and loose sleeves away from the drill.
- Distance from the edge: The centre of the hole should be at least one and a half times the hole diameter away from the edge. For a 5 mm hole, that's 7.5 mm. Closer to the edge, the sheet breaks out easily.
- Start slowly: Place the drill bit carefully. Run step and cone drills at a low speed. With a twist drill, the speed depends on the diameter: the thinner the bit, the faster.
- Watch the chips: With a twist drill, the chips show you whether things are right. If they come out evenly and in one piece, all is well. If they crumble, you're turning too fast or pressing too hard. If they melt, it's getting too hot. Take a break, let everything cool down and check the speed and pressure.
- Cool with water: Now and then, spray a little tap water onto the drilling spot. This keeps the acrylic glass from getting too hot and smearing. Make sure no water gets into the drill.
- Ease off before breaking through: Just before the drill bit comes out underneath, take almost all the pressure off.
- Deburr the edge: Finally, lightly chamfer the edge of the hole with a countersink or the next step of the step drill.
Does a standard metal drill bit work too?
From experience: with thin cutouts up to 3 mm, the metal drill bit from your toolbox usually works too, if you're careful. A brand-new, sharp bit catches most easily. A used one tends to scrape rather than cut. Clamp the cutout, film and all, onto a wooden board. Drill at a low speed, without hammer action and with little pressure. Give the drill bit time. Just before breaking through, take almost all the pressure off. That's exactly where the underside tears out most easily. Try it on an offcut first.
Large holes
For holes up to about 60 mm in diameter, use a hole saw suitable for plastic. Cool it with water here too.
Drill the screw hole slightly larger
Acrylic glass expands more with heat than glass does, by about 0.07 mm per metre and degree. A part 1 m long grows by around 1.4 mm between 10 and 30 °C. So drill the hole slightly larger than the screw. Otherwise the sheet can crack at the screw. Don't overtighten the screw either. Use screws without an oil film, as oil can trigger stress cracks. With thin cutouts, a through hole is better than a thread in the sheet.
Bending PLEXIGLAS® with a heating rod or oven
PLEXIGLAS® can be bent when warm, but it needs plenty of heat. For thermoforming PLEXIGLAS® GS, which is cast acrylic glass, the manufacturer recommends 160 to 175 °C. For a straight bend, heat a strip along the bending line. It should be three to five times as wide as the sheet is thick. For 3 mm, that's about 1 to 1.5 cm. For a curve, heat the whole sheet.
- Remove the film: Peel off the protective film before heating. If you want glossy edges, polish them now. It's harder to do later.
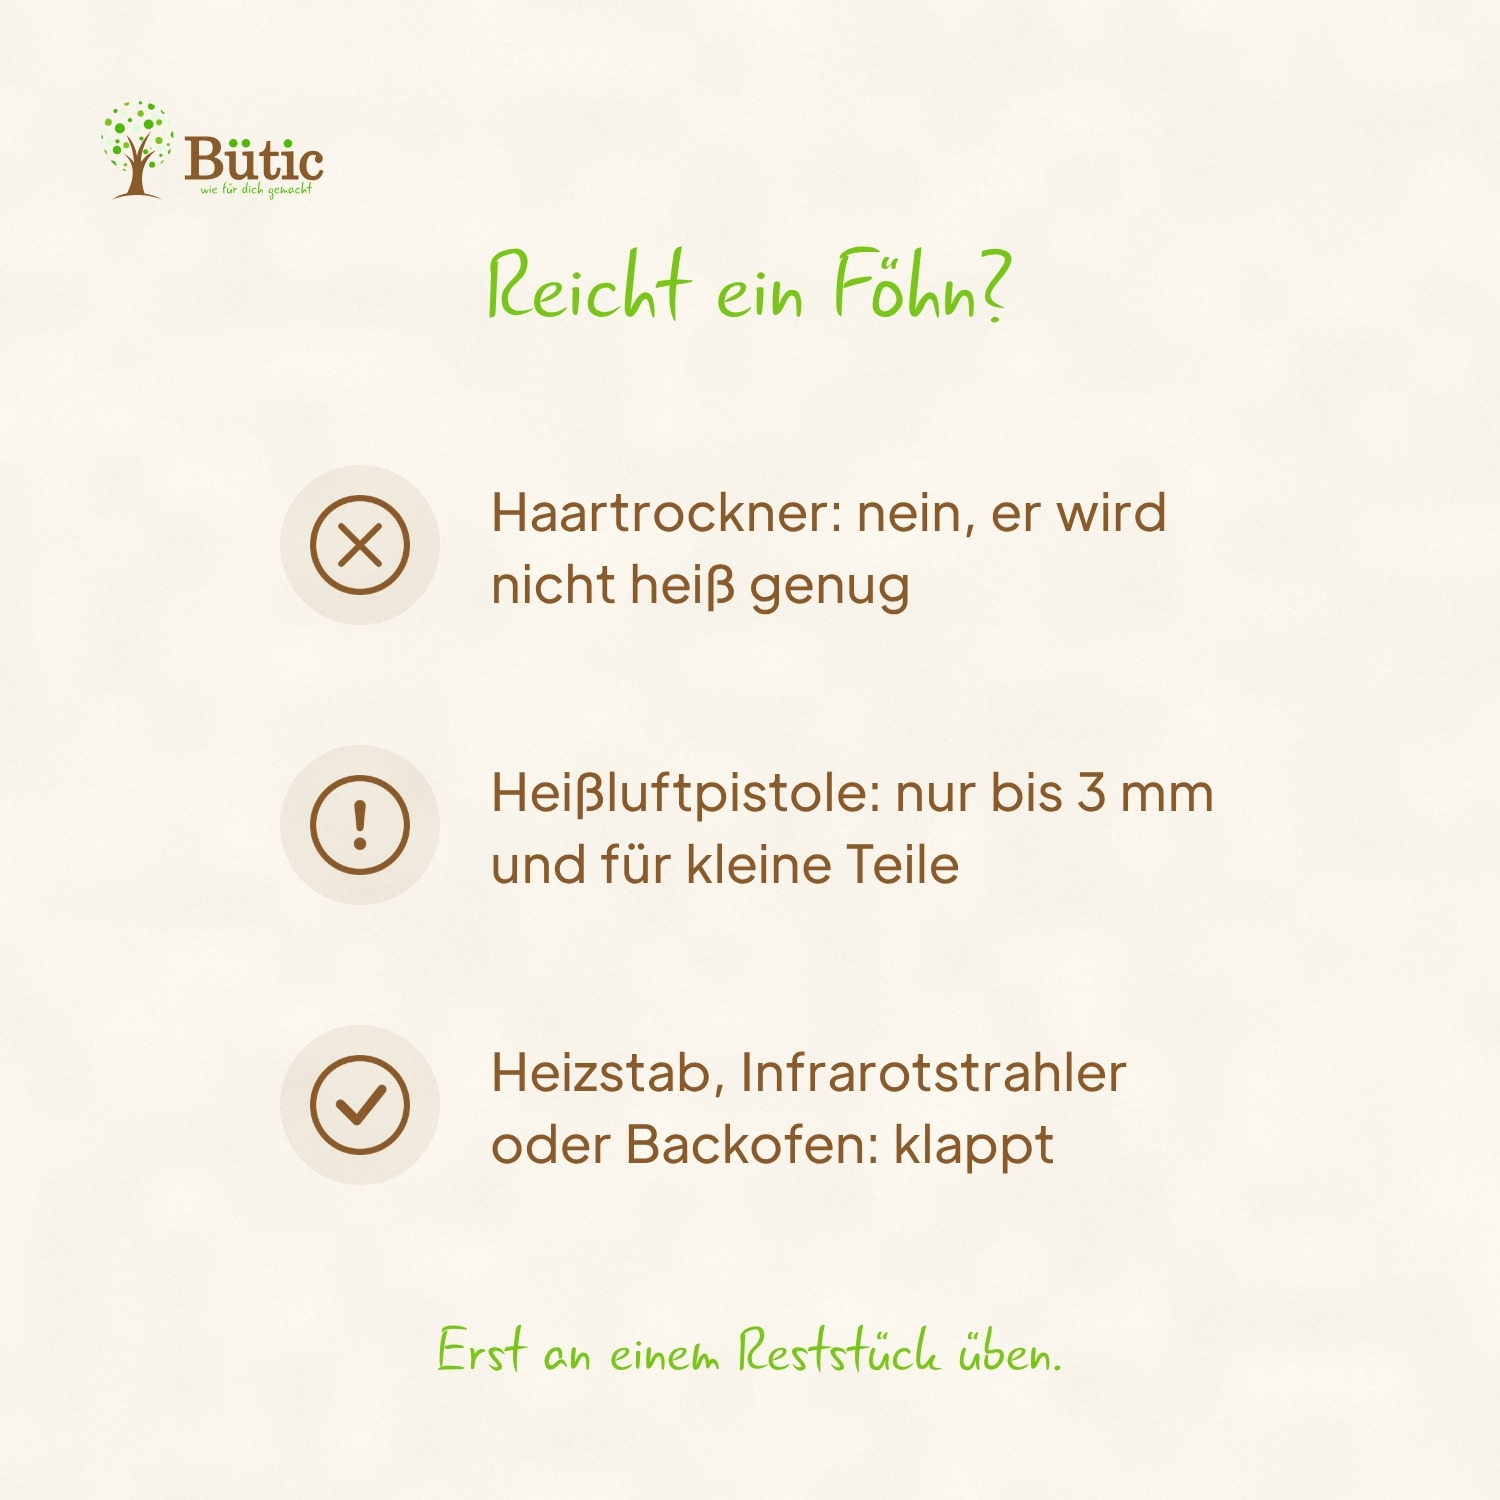
- Heat source for a bend: a heating rod or a powerful infrared heater.
- Heat source for the whole sheet: the oven, ideally with fan. Place the sheet on a reusable baking sheet liner on the baking tray, not directly on the rack. Otherwise the grid will leave marks. From experience: a 3 mm cutout needs about three to five minutes at 160 °C until it's soft all over.
- No contact: Leave at least 1 cm of air between the sheet and the heat source. From 4 mm thickness, heat from both sides or turn the sheet several times.
- Stay close: If the sheet gets too hot, bubbles form. So keep an eye on it the whole time.
- Bend straight away, without force: Once the sheet is warm enough, it bends very easily. If you have to push, it's still too cold and may crack. Bend it a little further than needed, as the leg springs back slightly as it cools.
- Hold until cool: Keep the part held in shape until it has cooled below about 60 °C. Wear heat-resistant gloves while doing this.
- Note the warranty: Thermoformed parts are excluded from the manufacturer's warranties on colour and yellowing. You can read what the warranties cover in the guide PLEXIGLAS® coloured or opal.
Is a hairdryer enough?
A normal hairdryer isn't enough. Its air gets nowhere near 160 °C. From experience: a heat gun from a DIY store works for thin sheets up to 3 mm and small parts. However, the manufacturer considers heat guns only partly suitable. They heat the area unevenly and leave stresses in the material. If you try it, keep moving the gun back and forth and work at a distance. Practise on an offcut first. Afterwards, it's best to relieve the stresses by annealing, as described below under stress cracks.
How tight can the bend be?
The bending radius should be at least twice the sheet thickness. For 3 mm, that's 6 mm. Tighter radii cause creases on the inside. If one leg is very short, it's better to heat the whole sheet. Otherwise it will warp.
Has the bend come out crooked?
A crooked bend in PLEXIGLAS® GS can usually be corrected. If you heat the part to bending temperature again, it returns to its flat original shape. Then you can start again. Bubbles from too much heat will remain, though.
Is thin PLEXIGLAS® flexible?
Only slightly. When cold, PLEXIGLAS® can only be curved very gently, for example to mount it under tension. The radius must then be at least 330 times the thickness. For a 3 mm sheet, that's around one metre. Without a holder, the sheet won't stay curved. And a 90-degree bend is only possible with heat.
Drilling and bending at a glance
The key steps for clean holes and a straight bend.

Cutting PLEXIGLAS® and polishing the edges
The right tool depends on the thickness and shape. One rule always applies: use sharp tools, clamp the sheet firmly so it doesn't vibrate, and work at a moderate feed rate.
- Hand saw: For craft projects, fine-toothed saws such as a panel saw or fretsaw will do. With patience, the edges turn out neat.
- Jigsaw: a straight-toothed blade for plastic, pendulum action set to zero. Start with the saw running and cool with water.
- Circular saw: a carbide saw blade that sticks out only just above the sheet.
- Score and snap up to 3 mm: Use a scoring knife with a hook blade along a ruler. Score as many times as the sheet is millimetres thick. Then snap it over the edge of a table. Protect your hands with gloves or a soft cloth. Deburr the broken edge with a cabinet scraper.
- Pre-drill inside corners: For cut-out sections, first drill a hole of at least 10 mm in each corner. Then saw from hole to hole. Otherwise sharp inside corners tear easily.
Sanding and polishing edges
Sawn edges are matt. Sanding and polishing make them clear and glossy again. Always sand wet. This keeps the acrylic glass cool and stops the sandpaper from clogging. You work in three stages: coarse with 80 to 240 grit, medium with 400, fine with 600 to 1000. For polishing, use polishing wax, polishing paste or standard car polish on a very soft cloth. Then wipe off the residue with water.
Better to skip flame polishing. The flame does make the edge glossy quickly. But it leaves stresses that can later turn into cracks.
Avoiding stress cracks
Drilling, sawing, sanding and bending create small stresses in acrylic glass. Some also remain at laser-cut edges. On their own, they usually do no harm. But if solvents come into contact, for example from adhesives, paints or harsh cleaners, fine cracks can appear. Often this happens only days later.
So cool with water when drilling and sawing, and use sharp tools. For cleaning, water with a little washing-up liquid and a soft cloth are all you need. Find out more under Cleaning and caring for PLEXIGLAS®.
You can anneal heavily worked parts. This means heating them evenly in the oven so the stresses are relieved. For GS: at 80 °C for as many hours as the thickness in millimetres divided by three, but at least two hours. For 3 mm, that means two hours at 80 °C. Afterwards, the part cools in the oven by no more than 15 °C per hour. So you turn the temperature down in small steps instead of simply switching the oven off. Only take the part out once it's below 60 °C.
What should I use to glue PLEXIGLAS®?
To glue two pieces of PLEXIGLAS® together, a special adhesive for acrylic glass works best. For small bonding areas and pieces that fit very precisely, superglue also works. On metal, glass or stone, use an elastic, neutral-curing silicone adhesive that is expressly suitable for acrylic glass. The pieces should be free of stress, or cracks can form at the joint. If they are under stress, for example from bending or polishing, anneal them before gluing.
Rather have it cut for you? Bütic makes it easy
If you'd like to skip the saw and sandpaper: we laser-cut cutouts from PLEXIGLAS® GS in our own production in Pößneck. They come with smooth, glossy laser-cut edges and in 17 colours. On request, we laser the holes for you at the same time. You can then bend the cutouts yourself, exactly as described above.
- Cutouts made of PLEXIGLAS® in lots of shapes such as circle, square, heart or star
- Hole or cut-out: For many cutouts, you can add holes and cut-outs directly on the product page under “Ausschnitte konfigurieren”. We laser them at the same time.
- Your own shape or size: Tell us what you need via Contact. We'll let you know what's possible.
- Which colour lets through how much light is explained in our guide PLEXIGLAS® coloured or opal
- Further reading: the manufacturer's processing guidelines as a PDF
Summary
For drilling, a step drill or countersink drill works best. At 3 mm, a normal metal drill bit also works if you're careful. Cool with water as you go and slow down just before you break through. For bending, you need around 160 °C, so use a heating rod, an infrared heater or your oven. A hairdryer isn't enough. Leave the protective film on for drilling and sawing. Peel it off for bending and gluing.
PLEXIGLAS® is a registered trademark of Röhm GmbH, Darmstadt.